Sunday 30 June 2013

Summery 3 tone gradient NOTD


I saw a beautiful gradient on Instagram and had to copy it. I drew some patterns over it though, being me. 

Isn't it a beaut? Go and check out @amyytran for some more gorgeous designs :)
How she makes her gradients so perfect, I don't know!


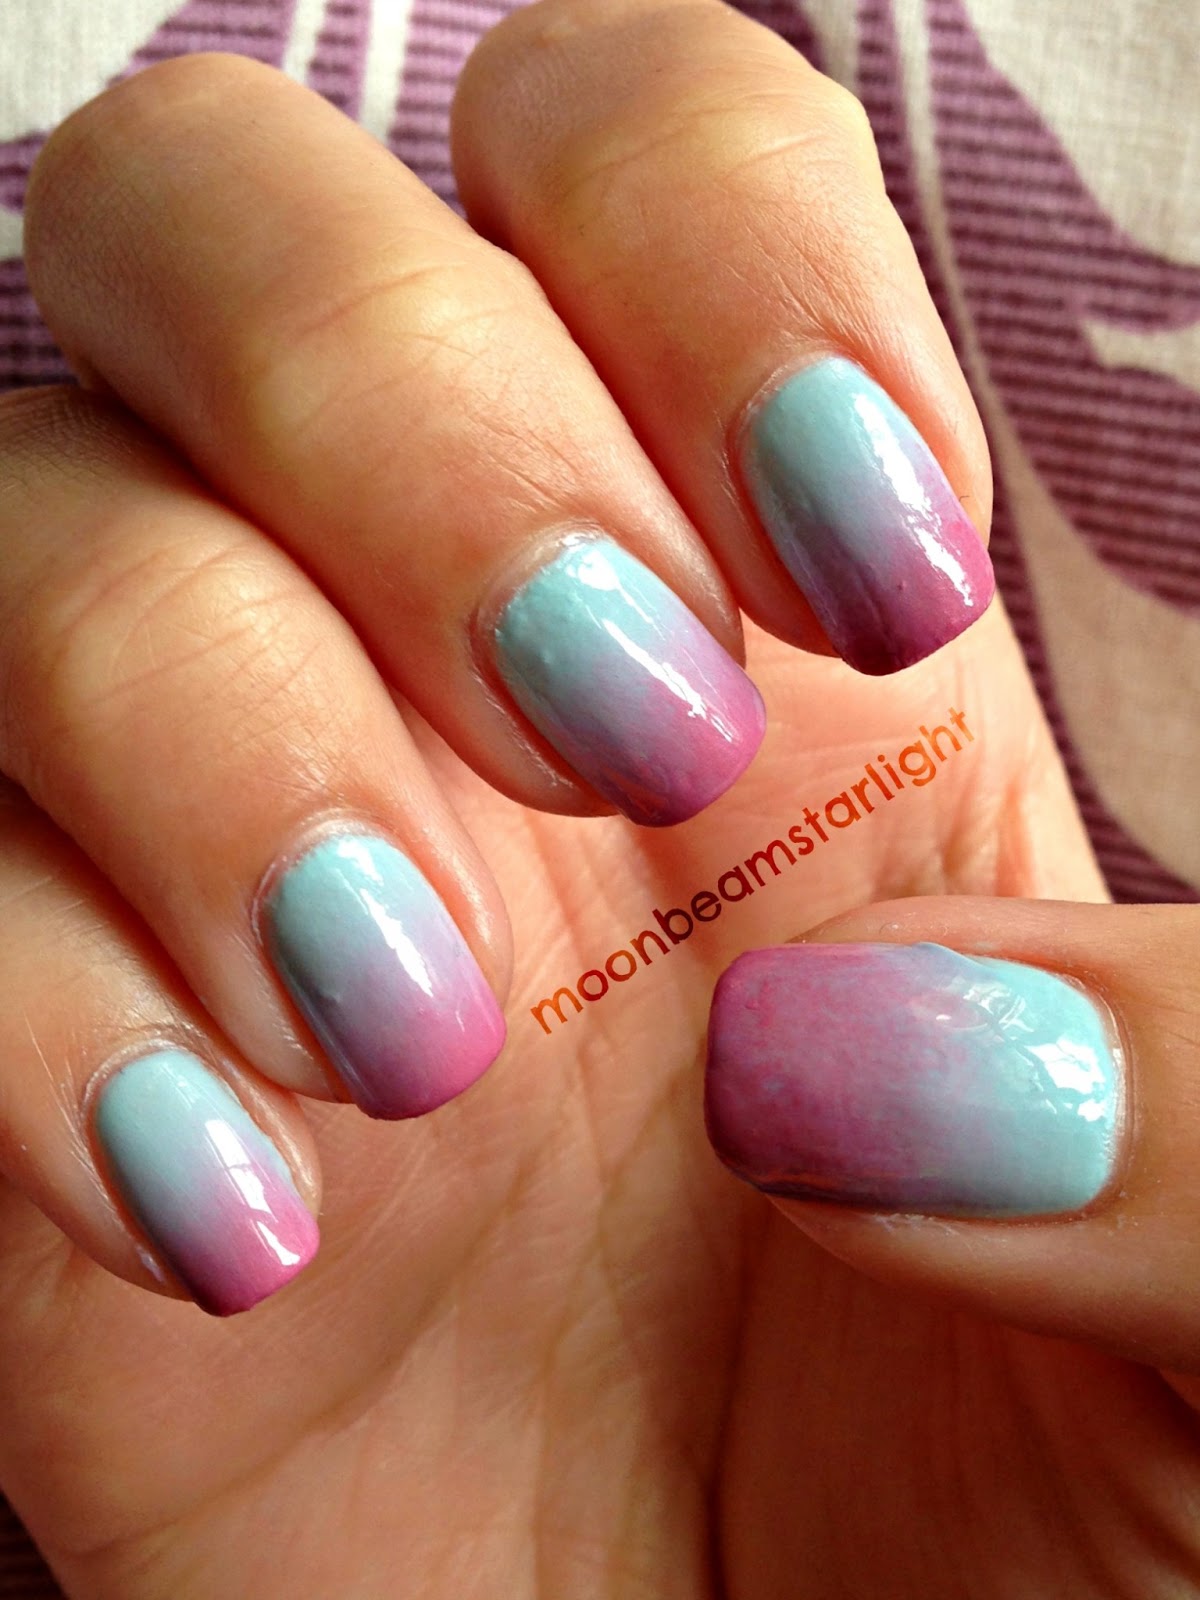
I began with two layers over a base coat of Models Own Lemon Meringue. 


Then, using a sponge, I dabbed on layers of  more Models Own Lemon Meringue along with Peaches & Cream and Soda Pop Pink. 


Quickly using a top coat, I smoothed out the polish which also helps to blend it more. I wish I used a more neon pink so get a more similar effect...


Here's a water droplet shot from my shower ;)


I drew on these designs, and I am not happy with them. My black striper is a little thick (I've got thinner on the way) so it was dragging a bit too much. 

I also decided I really hated the dolphins and cocktails so I redid these nails: 


You can see the gradient under the heart isn't as good as the others since I rushed it and the thumb is just meh. But oh well!


Love love and naillove!!
Toffee xXxXx

Sunday 23 June 2013

Gold glitter swipe gradient tips


I recently found some old nail pics and one of them really inspired me to bring back glitter tips. 


I did these silver glitter gradient tips when I was preparing for the Olympics Closing Ceremony as they matched my silver costume. 


Wanting to do something similar, I chose gold, mainly to match my new bunny ring, but also because gold works with most colours. Being me, I wanted to use a different glitter as an accent nail too so I chose pink because I love it. 

I began with a base coat and then use three layers of Barry M Nail Paint in Nude to build up the opacity. 


I left this on for a day, after applying a layer of INM Out The Door top coat, to make sure it was solid. 


I used two glitters to make the sparkle tips on each nail. I sponged the first glitter polish (gold - OPI Bring on the Bling and pink - Nails Inc Chelsea Square) onto just the tips covering the white bit and then brought the sponge up to the outer edge to form a swipe effect.

~ Barry M Nude ~ OPI Bring on the Bling ~ Models Own Disco Inferno ~ Nails Inc Chelsea Square ~ Models Own Hot Stuff ~


After this had dried, I used the second bigger chunkier glitter to build up the colours and jewel effect. 


For the pink I used Models Own Hot Stuff and for the gold I used Models Own Disco Inferno.


Coating the nail in a few layers of INM Out The Door top coat, I could still feel sharp bits from the chunkier glitter. So I filed these down using a fine nail file and then used a thin layer of 17 Double Gloss Top Coat.


And here is a blurry glitter shot:


I'm falling in love with chunky glitter again this summer :)

Are you a fan of glitter tips?

Love love and naillove!!
Toffee xXxXx

Friday 21 June 2013

3 tone gradient NOTD


Still loving the gradient nails, I decided to try a blue to lilac to pink design. 

I started off with a couple layers of Blue Moon by Barry M as a base. 


I think I used three layers in total to achieve desired opacity. 


I then sponged all three colours onto the nail. I had to do this two or three times on each nail to get the gradient as gradual as I like it and the opacity desired. 


For the lilac, I stuck with OPI Rumple's Wiggin and for the pink I chose OPI Japanese Rose Garden. 


I then decided I needed some sparkle so I used a light layer of Nails Inc Special Effects Holographic Top Coat. 


This stuff is beautiful. Turns any polish holographic! 


I took a couple blurred shots to show off the glitz:


I had these plain for a day or two but then I got bored so I used a black striper to draw in some details. 
  

Cute stripe tips, a bubble heart, bows, mini hearts and stars. 


And then I took this picture to show off my new bunny ring ^^ (I got it from Etsy)

My nails came off... LOL! 
(It's literally just the polish but they come off so perfectly. I think its a combination of the base and top coat I've been using lately)

What do you think? Plain or patterns??

Love love and naillove!!
Toffee xXxXx

Thursday 20 June 2013

*video* 10 products I would repurchase


Products in this video:
1. The Body Shop Seaweed Mattifying Moisture Lotion SPF15
2. The Body Shop Nutriganics Smoothing Night Cream
3. Sk:n Anti-Blemish Blemish Control Lotion
4. Sk:n Anti-Blemish Maintenance Serum
5. Liz Earle Cleanse & Polish Hot Cloth Cleanser
6. Smashbox Photofinish Primer
7. Urban Decay All-Nighter Makeup Setting Spray
8. OPI Nail Envy
9. 17 Double Gloss Top Coat
10. Boots Conditioning Nail Polish Remover


If you have any questions about the products shown in this video please leave a comment or message me :) 

Thanks for watching!!

( What do stars do??
*** They shine. ***)

FTC: I bought most of these products with my own money (not Sleek Palette or BareMinerals Foundation) and this did not affect my opinion :)

Love love and videolove!!
Toffee xXxXx

Monday 17 June 2013

Mint lavender gradient with white designs NOTD

from my Instagram account: http://instagram.com/ling2p


Not usually a big fan of green but since it's summer (doesn't really look or feel like it at the moment) I wanted to do some pastel shades. This is an old Eyeko polish (they don't make them anymore) - Eyeko Vintage Polish. 


Sticking with gradients, and being a little fed up of baby pink, I chose to graduate the mint green polish to a lavender colour. 


 For this gradient, I chose to use OPI Rumple's Wiggin. I sponged the tips and then blended the polishes with 17 Double Gloss Top Coat. 


I decided to glitter up the gradient a little to blend the colours even more and add that touch of sparkle. 


With a white polish, a small dotting tool and a nail art brush I created these designs. 


It was a lovely sunny day but the sun didn't come through the windows much, so I had to lean out to make the most of the beautiful light :)


What do you think?

Love love and naillove!!
Toffee xXxXx

Saturday 15 June 2013

Baby Pink to Lilac Gradient NOTD

(this one is from my Instagram account which is why the watermark is ling2p)

Still loving gradient nails and I decided to go for girly pastel shades this time.


A base of Models Own Pastel Pink was graduated to Eyeko Lilac Polish. 


I kept the ring finger different because I didn't want a gradient on all nails. 


Then using a white striper polish, I drew some designs. My gradients still aren't that great and I'm not sure why... could it be due to the sponges I'm using? 


I think I might decide that hearts on one of my nails is a little signature design :P


I really like doing this zebra stripe print style - I think its very effective, but I may have put the stripes a bit too close this time as I feel there is a lot of white and you can't see the gradient as much.

Let me know your thoughts in the comments :)

Love love and naillove!!
Toffee xXxXx

Thursday 13 June 2013

Love and black details NOTD


Okay, so after I had the gradient plain on my nails for a day, I just couldn't leave well enough alone and (even though my thumb was chipped) I decided to get out my black striper. 


I saw a wonderful tutorial where you can make your own decals, which means you can have perfect patterns on your drawing hand too! I wanted to give it a try, so I made this love one first. 

I think it's worked well, but now I need to get my decals looking good - would you want a tutorial on these? Maybe I'll do one when I practice a bit more :)


On the other nails I just drew straight onto the nail. 


I've been drawing hearts almost all my life, being a girl and hearts being so simple to draw... 


I think with the birds and dolphin, I took the idea of the background being a sea-theme and just drew. 


So what do you think? Is plain better or with details? 

I always like patterns now... even gradients are too plain for me :P


Love love and naillove!!
Toffee xXxXx